
Blend & Overlays
Layer light leaks, bokeh, textures or your own images, then tune every overlay in a full blend editor.

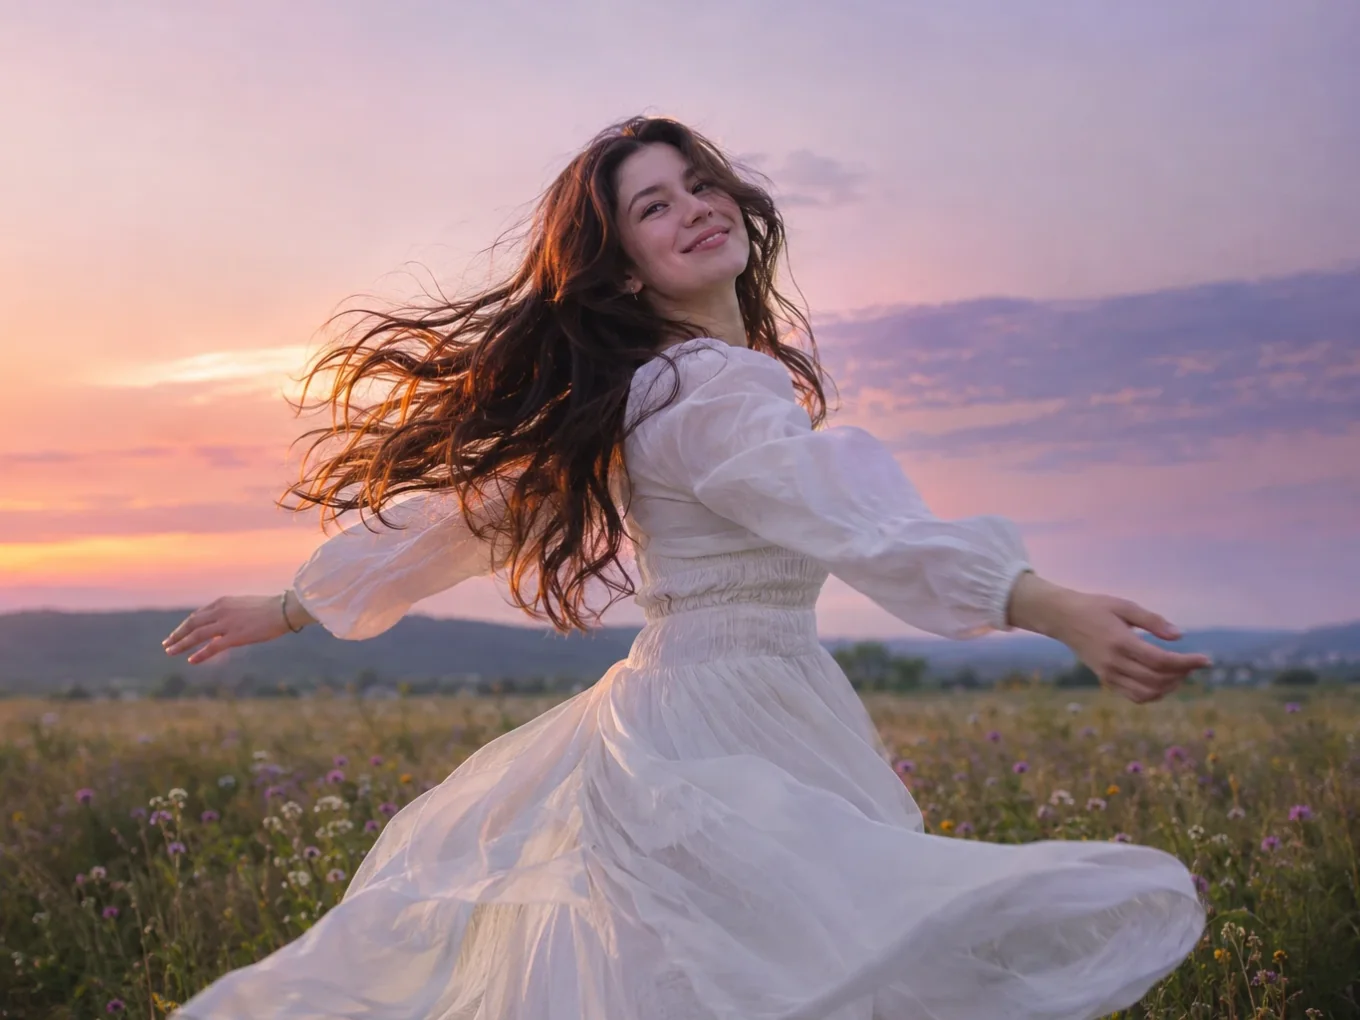
What is Blend & Overlays?
Overlays are images placed over your photo: light leaks, dust, bokeh, sparkles, film burns, textures. Pick a ready preset from the categories or the Library, or add your own picture.
Tap the settings icon at the top to open the blend editor. There you choose the blend mode, fade the overlay with a mask, place it and erase parts by hand. The editor works the same with your own overlays.
Everything in Blend & Overlays
Blend modes
Classic modes for any look.
- Overlay
- Screen
- Multiply
- Color
- Subtract
- Difference
- Soft light
- Hard light
- Lighten
- Darken
Blend editor
Open it with the settings icon at the top.
- Blend
- Move
- Adjust
- Mask
- Softness
- Fit
- Fill
- Tile
- Eraser
- Move
- Place and scale the overlay.
- Adjust
- Hue, Saturation, Brightness, Contrast, Blur, Shadow and Highlights of the overlay.
- Mask
- Fade the overlay: None, Linear, Radial or Band. Softness sets how smooth the fade is.
- Fit, Fill, Tile
- Fit the overlay inside the photo, fill the whole photo, or repeat it as a pattern.
- Eraser
- Erase parts of the overlay by hand. It can use the person mask, so you save erasing or restore around the person in one tap.
Sources
Where overlays come from.
- Presets
- Library
- Your own overlay
- Your own overlay
- Tap the add icon next to settings to use any picture as an overlay.
Layers
Choose where the edit goes. AI finds the person, so you can change the whole photo, only the person or only the background.
- All
- Mask
- BG
- Cutout
- Compare
- Discard
- All, Mask, BG
- Tap the layers button at the top. All changes the whole photo, Mask only the person, BG only the background behind them.
- Cutout
- If the AI mask missed a spot, tap Cutout and fix it in Remove BG. The background layer follows your new mask by itself.
- Compare
- Hold to see the original photo, release to see your edit.
- Discard
- Reset everything you changed in this tool and start again.
How to use Blend & Overlays in Pichype
- 1Open Overlay
Pick a photo and tap Overlay.
- 2Pick an overlay
Choose a preset from a category or the Library, or add your own.
- 3Open the blend editor
Tap the settings icon, choose a blend mode, a mask and the fit.
- 4Erase and save
Erase the overlay from the face or the person if needed, compare and save.
Blend & Overlays FAQ
Can I edit only the person or only the background?
Yes. Tap the layers button at the top and choose Mask for the person or BG for the background. If the edge is not perfect, tap Cutout, fix the mask in Remove BG and the edit follows the new edge.
Which blend mode should I use for light leaks?
Screen or Lighten. They keep only the bright parts of the overlay.
How do I keep the overlay off my face?
Open the blend editor and use the Eraser. It can use the person mask to clear the person in one go.
Can I use my own image?
Yes. Tap the add icon next to settings. The blend editor works the same with it.
Blend & Overlays tutorials
All tutorials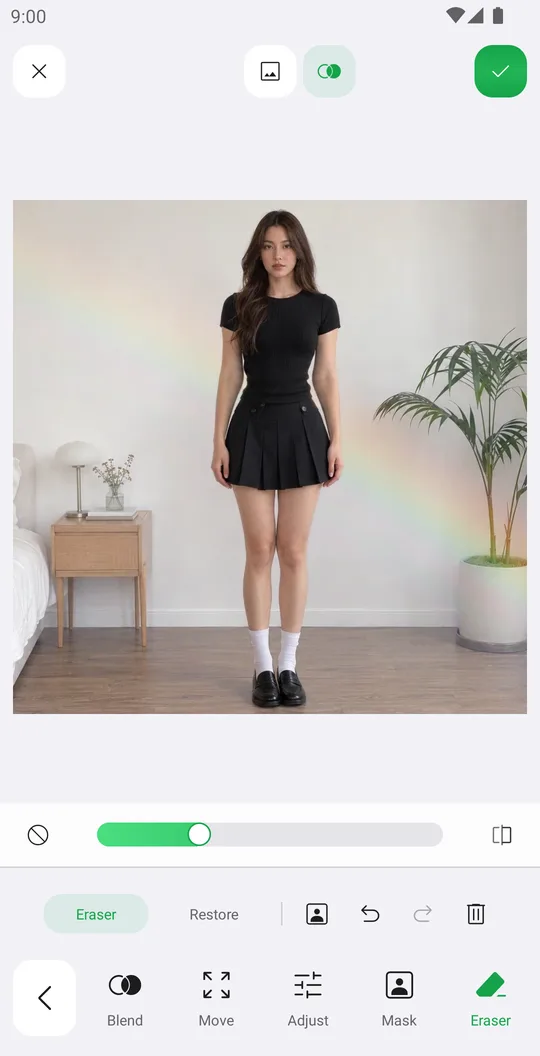
Works well with
Try Blend & Overlays for free
Free on Google Play. iOS coming soon.