Curves
Shape contrast and color like a pro with ready presets or your own curves for RGB, Red, Green and Blue.
What is Curves?
A curve maps the tones of the photo. Lift the curve to brighten, make an S shape for contrast, or bend one color channel to grade the photo, for example teal shadows and warm highlights.
Start from a preset and fine-tune it, or add your own points from scratch. Layers let you grade the person and the background differently.
Everything in Curves
Presets
Ready curves to start from.
- Linear
- Contrast
- Bright
- Darker
- Teal & Orange
- Kodak
- Fuji
Channels
Add and move points for exact results.
- RGB
- Red
- Green
- Blue
- RGB
- Changes brightness and contrast of the whole photo.
- Red, Green, Blue
- Bend one channel to shift color in the shadows, midtones or highlights.
Layers
Choose where the edit goes. AI finds the person, so you can change the whole photo, only the person or only the background.
- All
- Mask
- BG
- Cutout
- Compare
- Discard
- All, Mask, BG
- Tap the layers button at the top. All changes the whole photo, Mask only the person, BG only the background behind them.
- Cutout
- If the AI mask missed a spot, tap Cutout and fix it in Remove BG. The background layer follows your new mask by itself.
- Compare
- Hold to see the original photo, release to see your edit.
- Discard
- Reset everything you changed in this tool and start again.
How to use Curves in Pichype
- 1Open Curves
Pick a photo and open Colors, then Curve.
- 2Start from a preset
Pick a preset, or start from Linear.
- 3Move the points
Tap the curve to add a point and drag it. Switch channels for color.
- 4Compare and save
Hold Compare, then save.
Curves FAQ
Can I edit only the person or only the background?
Yes. Tap the layers button at the top and choose Mask for the person or BG for the background. If the edge is not perfect, tap Cutout, fix the mask in Remove BG and the edit follows the new edge.
How do I add contrast?
In RGB, pull the lower part of the curve down and the upper part up, making a soft S.
How do I get a film look?
Try Kodak or Fuji, or lift the bottom-left point in RGB for faded blacks.
Curves tutorials
All tutorials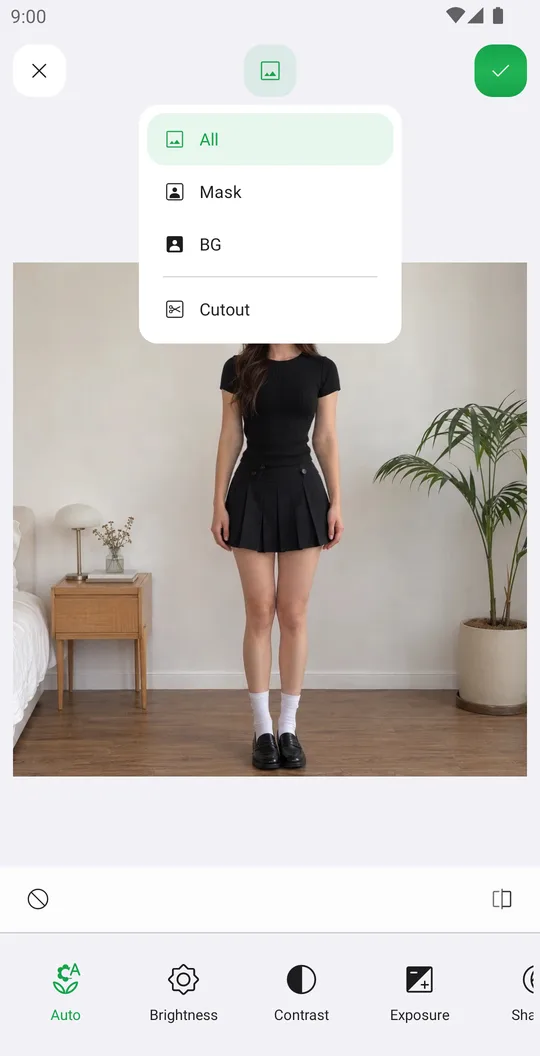
Works well with
Try Curves for free
Free on Google Play. iOS coming soon.