
How to use Curves for tone and color
Add contrast with a preset or your own points, and grade colors channel by channel.
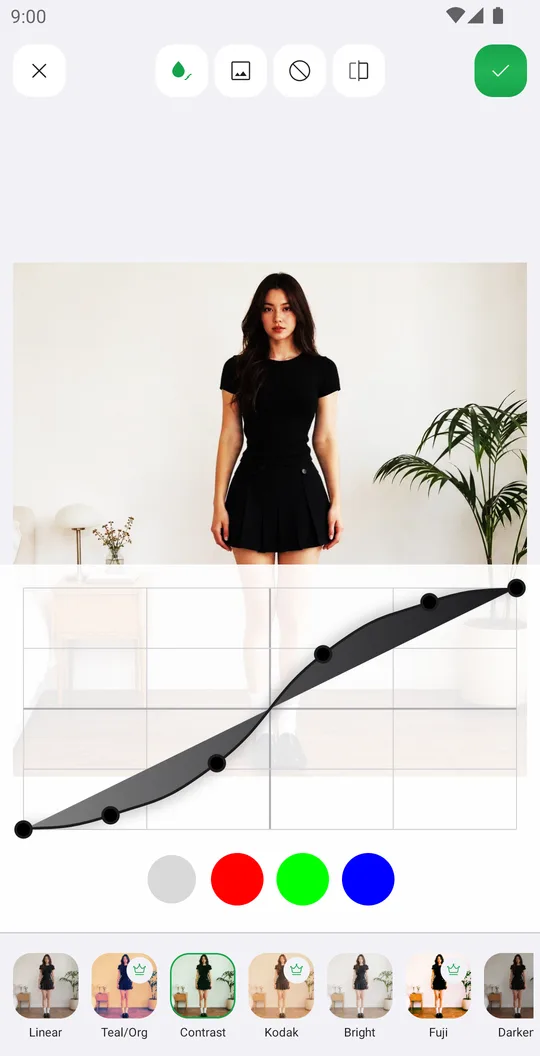
A curve maps the tones of a photo. Lifting it brightens, an S shape adds contrast and bending one color channel grades the photo.
Open the photo
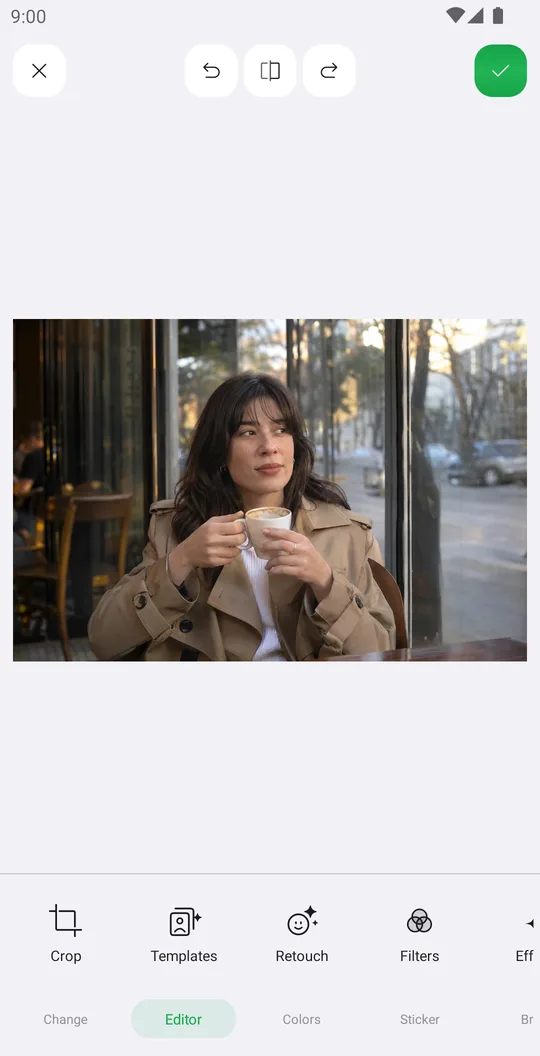
On the home screen tap Select a Photo and pick a photo. In the editor open the Colors tab at the bottom and tap Curve.
Start from a preset
Tap Linear, Contrast, Bright or Darker. Teal/Org, Kodak and Fuji give film-like grades.
Move the points
Tap the curve to add a point and drag it. Pull the lower part down and the upper part up for more contrast.
Grade a color
Switch to R, G or B and bend that channel. Lifting Blue in the shadows gives cool shadows, lowering it in the highlights gives warm highlights.
Choose where it applies
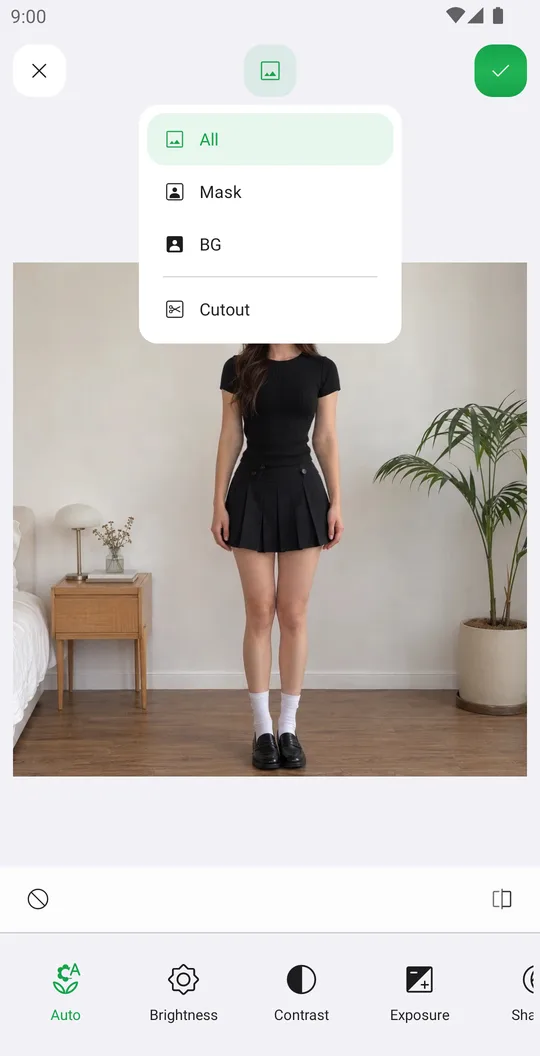
Tap the layers button at the top. All changes the whole photo, Mask changes only the person, BG changes only the background. Cutout opens Remove BG if the person mask needs a fix.
Save
Compare with the original and tap the check mark.
Layers
- All
- The whole photo.
- Mask
- Only the person. AI finds the person for you.
- BG
- Only the background behind the person.
- Cutout
- Opens Remove BG to fix the person mask. The BG layer follows the new edge.
Tools used in this tutorial
Related tutorials
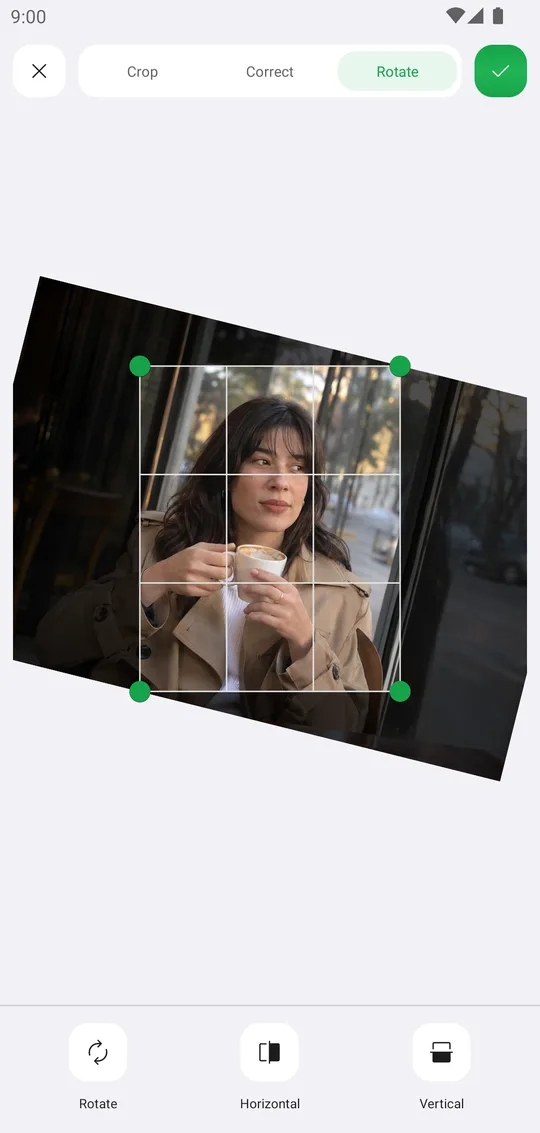
How to crop, rotate and straighten a photo
Crop for any post size, level a tilted horizon and fix leaning walls with Crop.
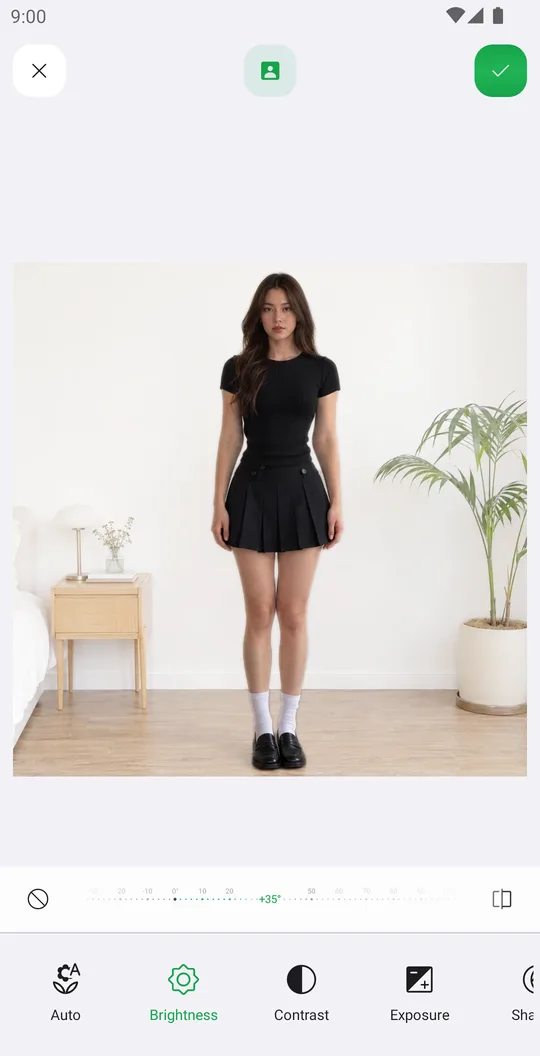
How to fix light and color with Tune
Brighten a dark photo, warm up the colors and darken only the background with Tune and layers.
How to change single colors with Hues, Balance, Selective and Tint
Turn green grass golden, fix a color cast or tint the whole photo with the four color tools.