
How to add stickers, even behind you
Add stickers from packs and the Library, arrange them precisely and put them behind the person.
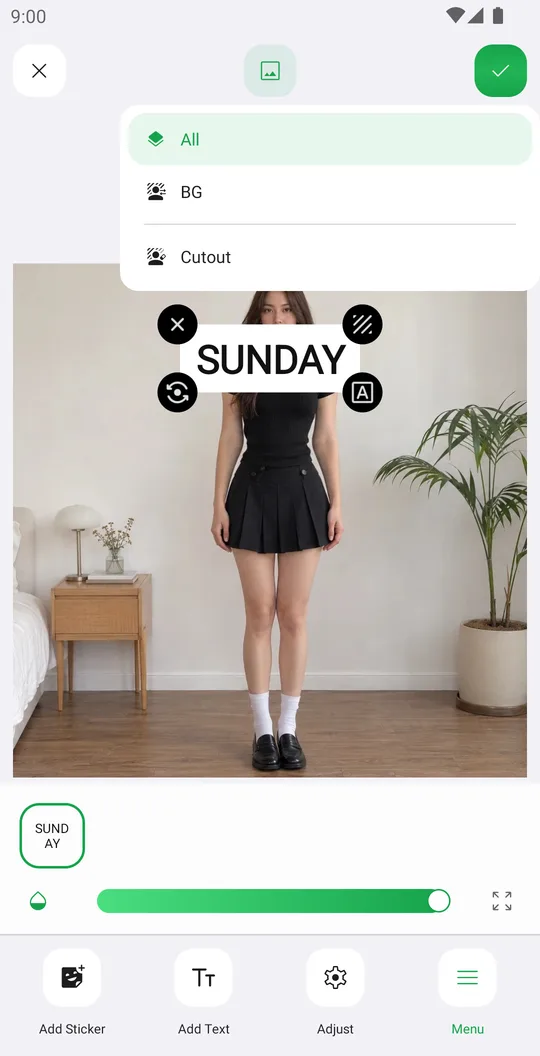
Stickers can be moved, rotated, flipped, locked, copied and put behind you. The same tools work for Text and Wrap.
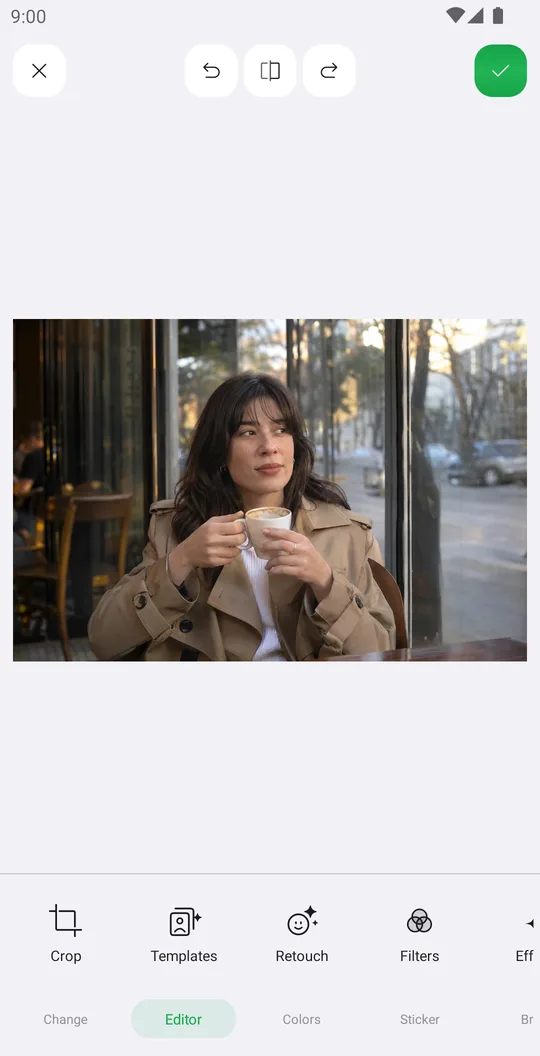
Open the photo
On the home screen tap Select a Photo and pick a photo. In the editor open the Sticker tab at the bottom and tap Sticker.
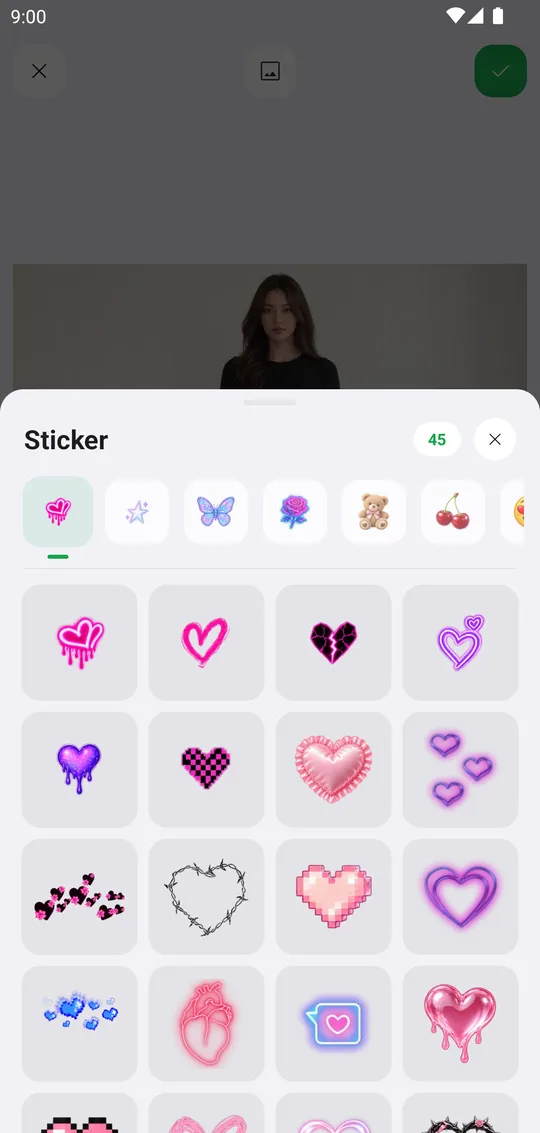
Pick a sticker
Choose a pack at the top and tap a sticker. The number shows how many stickers are in the pack.
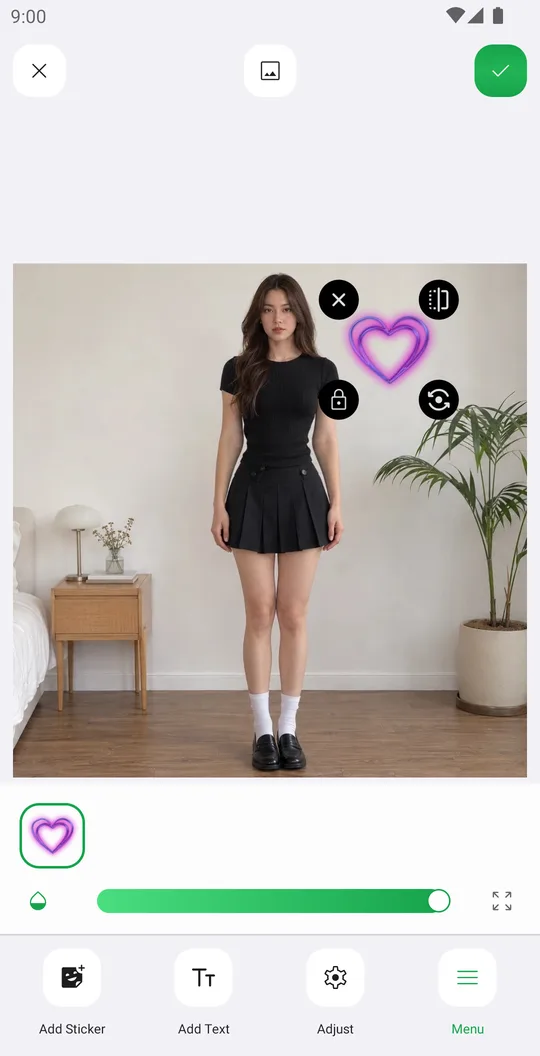
Place it
Drag the sticker, pinch to resize. The buttons on the sticker delete, flip, lock and rotate it. The strip below shows every sticker you added, with Opacity and Zoom sliders.
Use the long-press menu
Press and hold a sticker for Lock, Duplicate, Bring to Front, Send to Back, Reset Transform and Delete. Duplicate keeps the same size and position.
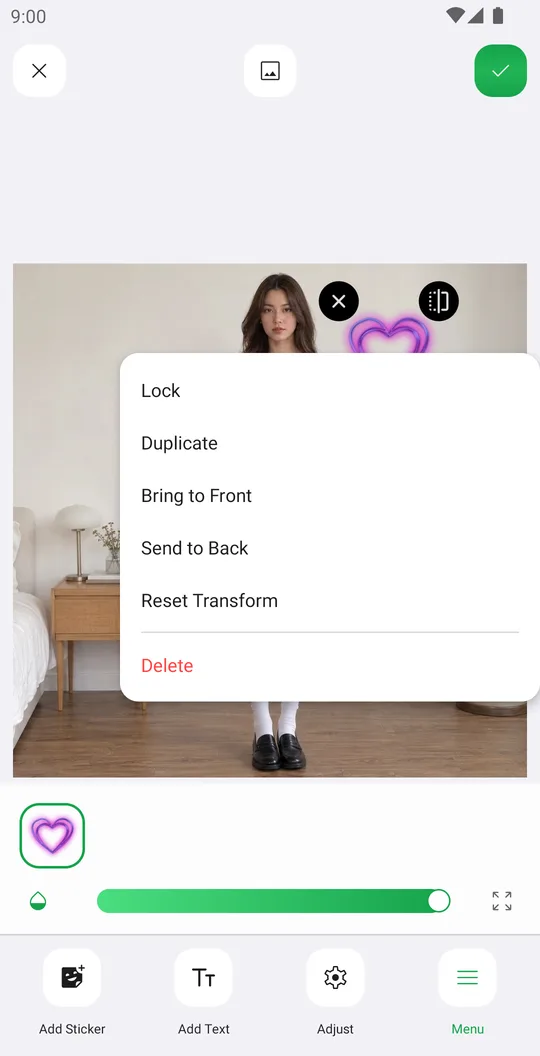
Fine placement
Adjust has Touch to move the photo instead of stickers, Guides for alignment lines and Degree to snap rotation to exact angles.
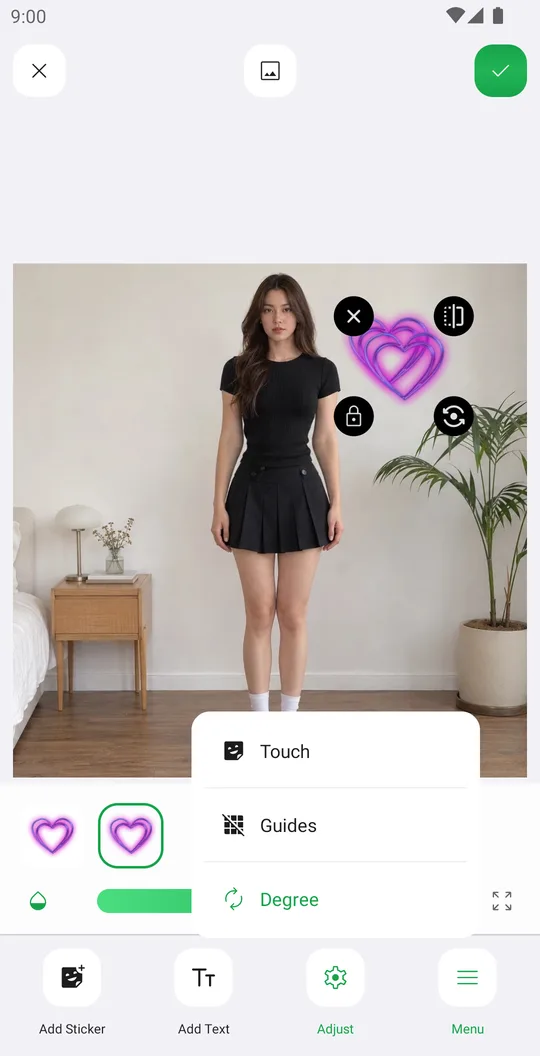
Put it behind you
Tap the layers button at the top and choose BG. The sticker goes behind the person. Cutout fixes the mask if the edge is wrong.
Where things are
- Add Sticker, Add Text
- Add more stickers or a text without leaving the tool.
- Adjust
- Touch, Guides and Degree.
- Menu
- The list of stickers. Lock any of them.
- Smart stickers
- Reminder and Calendar stickers, plus hundreds more in the Library.
Tools used in this tutorial
Related tutorials
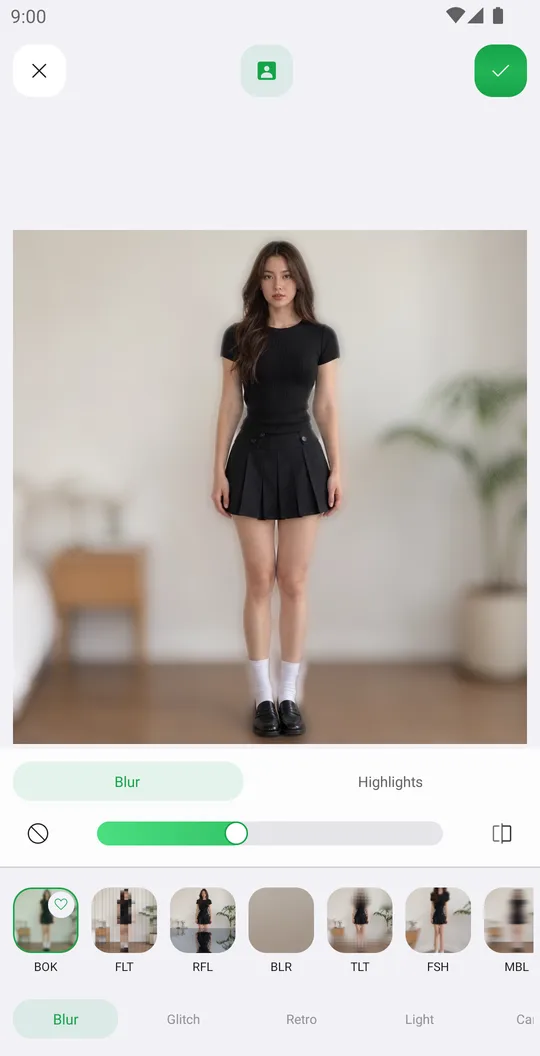
How to add effects like blur, glitch, VHS and bloom
Use 72 effects in Blur, Glitch, Retro, Light and Canvas, with their own settings, on the whole photo or only the background.
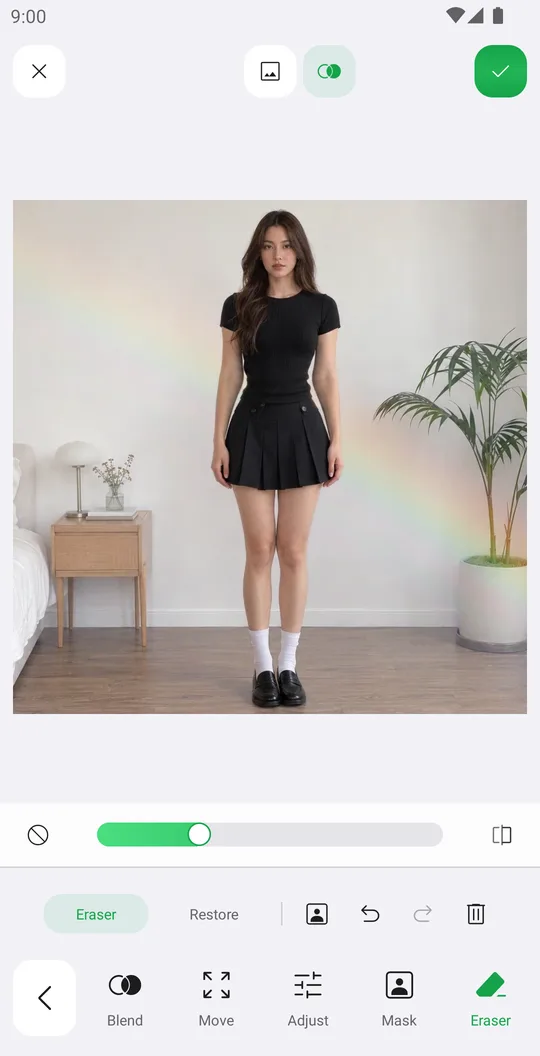
How to add overlays with blend modes
Add a light leak or texture, blend it with the photo, fade it with a mask and erase it from the person.
How to add text to photos, even behind you
Write a caption, style it with fonts, outline, shadow and background, and put it behind the person.